1. Prepare the SD Card
Warning!!!
Following these steps will erase all existing content on the microSD card
These steps may also be followed if you want to install into an USB SSD drive instead of the MicroSD card.
First, insert the microSD card into your computer.
Now you need to install the right Raspberry Pi Imager for your operating system. You can do this with the following links:
Or, if you are on Ubuntu, you can run:
sudo snap install rpi-imager
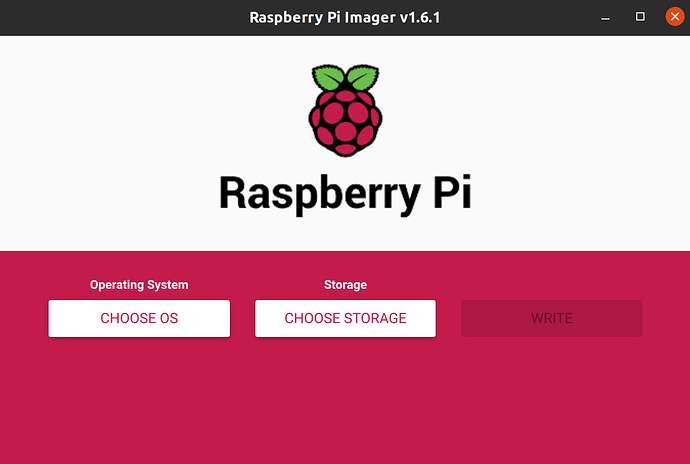
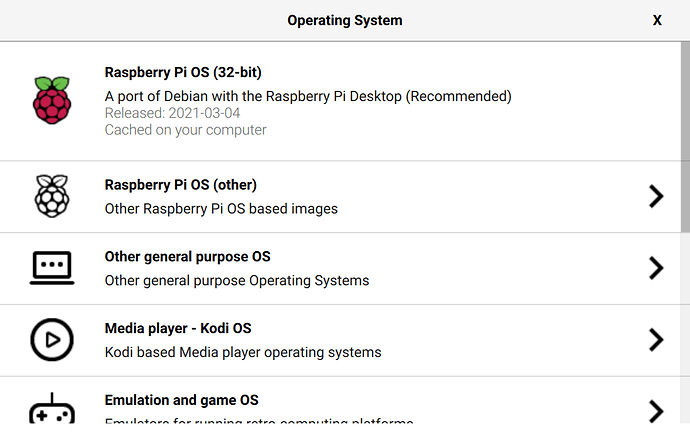
Once this is done, start the Imager and open the “CHOOSE OS” menu.
Scroll down the menu click “Other general-purpose OS”.
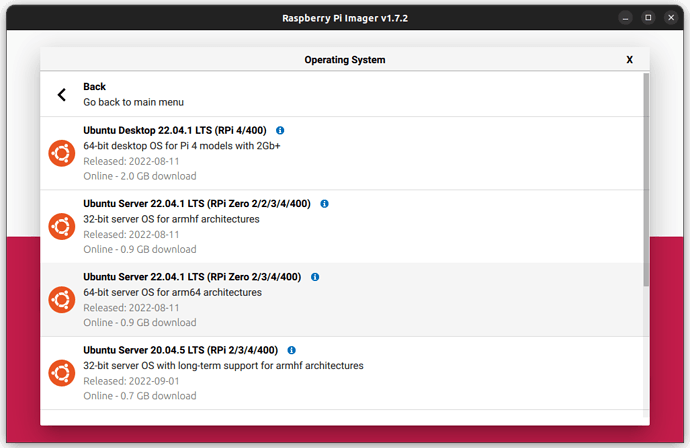
Here you you can select Ubuntu and see a list of download options. For this tutorial we recommend you select the latest Ubuntu 22.04 LTS server for 64 bit architectures. As indicated in the imager this will work for the Raspberry Pi 3, 4 and Zero 2 W.
Select the image and open the “Choose Storage” menu. Select the microSD card you have inserted.
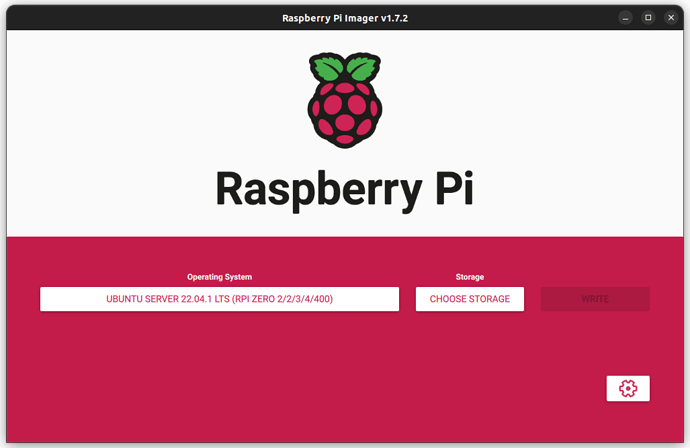
Before clicking ‘Write’ to flash your SD Card, click the cog icon to open a settings menu for advanced options.
2. Using Advanced Options
The Advanced options menu allows you to preconfigure a variety of network settings that would previously have required manual editing after flashing the SD card.
Here you can define the hostname of your Raspberry Pi and enable SSH, allowing you to connect to your Pi remotely.
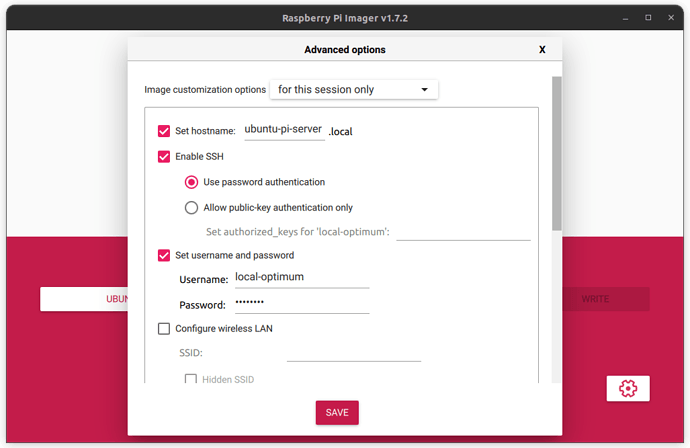
Note: We recommend setting SSH to use password authentication to make connecting remotely simpler. If you are interested in using public-keys with SSH you can read more about them here.
You can also configure your wi-fi connection in this menu, adding your SSID (wi-fi name) and Password. This will allow your Raspberry Pi to automatically connect to the internet as soon as the device starts. If you are connecting your Raspberry Pi to the internet via an ethernet cable, you can skip this step.
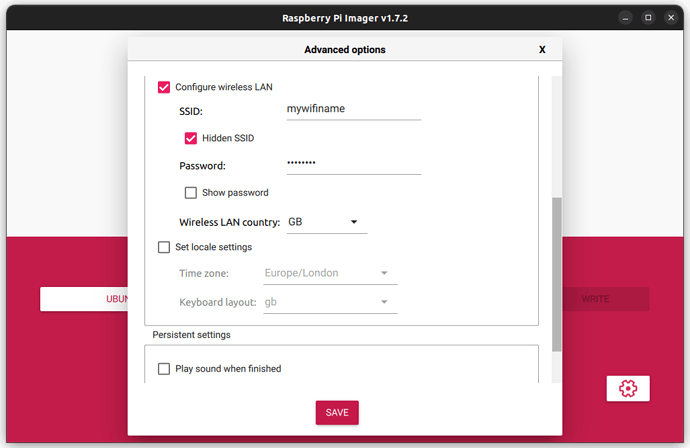
Once you have entered your details, click ‘Save’ and then ‘Write’ to flash your SD card!
Eject your SD card and insert it into your Raspberry Pi to continue to the next step.
3. Boot Ubuntu Server
If you are using an HDMI screen and a USB keyboard, ensure they are plugged in before powering on the Pi. You will be able to see the boot process on the screen.
Warning
During your first boot a tool called cloud-init is doing configuration. WAIT for it to finish before trying to log in. It typically takes less than 2 minutes but there is a break between the log-in prompt and cloud-init completing. If you interrupt the process you have to start again. You’ll know it’s done when it outputs some more lines after the log-in prompt has appeared.
Once cloud-init finishes, log in using the username and password you entered in the Advanced Setting menu. After a minute or so, Ubuntu on your Raspberry Pi will have fully booted and connected to the network.
Connect remotely to your Raspberry Pi
To connect to your Raspberry Pi remotely, you need two things (we’ll help you find them):
- Its IP address on the local network
- An SSH client (SSH is a communication protocol between machines)
You have to do this if you are running your device headless, but you might also want to do this if you are not, so you can access your Pi from anywhere.
Determining the Pi’s IP address
The easiest way to determine your Raspberry Pi’s IP address is by opening the dashboard for your wifi router and looking for connected devices. If you set a hostname in the ‘Advanced options’ this should appear as your device name.
If you don’t have access to your router dashboard you can temporarily connect a monitor and keyboard to your Raspberry Pi and run:
hostname -I
Which will return your device’s IP (Note: in this case the command uses the actual word ‘hostname’, not the hostname you defined in Advanced options!).
Using an SSH client
On Ubuntu and Mac OS, an SSH client is already installed. If you are on Windows you can either use Ubuntu on WSL or the built-in SSH client in the Windows terminal.
Open a terminal and run the following command:
ssh <username>@<Raspberry Pi’s IP address>
or
ssh <username>@<hostname>
If you set one up in the Advanced options menu.
You will be asked to confirm the connection:
Are you sure you want to continue connecting (yes/no/[fingerprint])?
Type “yes” to confirm. You will then be asked to sign in with your username and password
Default users
If you did not create a username and password in the Advanced options menu, the username and password will both be ‘ubuntu’ by default and you will be asked to create a new password at this stage. Once done, you can reconnect again with the SSH command and the new password.
Success! You are now connected to Ubuntu Server running on your Raspberry Pi.
Still not connected to the internet?
Sometimes the structure of the network-config file that you modified before boot gets messed up when you boot. This would cause your Pi not to be able to connect to your wi-fi.
To fix this you need to go into the correct file and correct the issue. Run:
sudo nano /etc/netplan/50-cloud-init.yaml
so you can edit the file. Edit it so it looks like this again, the indentation needs to be correct for the .yaml to work:
wifis:
  wlan0:
    dhcp4: true
    optional: true
    access-points:
      "home network":
        password: "123456789"
Save and exit the file with Ctrl + S and Ctrl + X.
Run sudo netplan apply and sudo reboot and when you log back in, you will be connected to your wifi.
4. That’s all, folks! (For the Ubuntu part, that is...)
You are done! Up and running on Ubuntu Server.
5. Install Wireguard
To install Wireguard and it's tools issue the following command:
sudo apt install wireguard wireguard-tools resolvconf -y
You now need to create/copy your config file contents:
sudo nano /etc/wireguard/wg0.conf
Copy all you config file contents to this new file WITHOUT any changes. Save and exit.
To have your Wireguard interfaces connect at boot issue the command:
sudo systemctl enable wg-quick@wg0 && systemctl start wg-quick@wg0You should now have a funtional install of Wireguard.
6. Activate forwarding on Ubuntu
To ensure the state of forwarding of your Pi issue the following command:
sudo sysctl net.ipv4.ip_forward
net.ipv4.ip_forward = 0
If your Pi responds with the above "=0" you need to activate forwarding on your Pi with the following command:
sudo sysctl -w net.ipv4.ip_forward=1
These changes are not persistent, meaning they will be disabled upon reboot of the Pi.
To make them permanent you need to edit the following file:
sudo vi /etc/sysctl.conf
Add or uncomment the following line on the file:
net.ipv4.ip_forward = 1
Save and close the file. Test it to see if it is as needed:
sudo sysctl -p
In order to make it possible for your Pi Gateway to know how to handle traffic you need one last change.
Enter root mode, as otherwise this may not work correctly:
sudo -i
We need to enable Masquerading. For that we need to add an IPTables rule with the following command:
sudo iptables -t nat -A POSTROUTING -s (YOUR LAN NETWORK SUBNET i.e. 192.168.1.0/24) -j MASQUERADE
As above this is not permanent and rules will be deleted upon reboot. To make permanent we need the following:
sudo apt install iptables-persistent
and
sudo iptables-save > /etc/iptables/rules.v4
This has you all covered in terms of VPN Gateway. You should now be connected and all your traffic on the Pi directed to either the VPN or your router, depending if it's internet traffic or private VPN traffic.
7. Change your devices default gateway or use static routing on your router
Depending on the make and model of your internet router you can do one of two things to have your devices routed to the VPN:
- Change the devices you want to use static IP addressing on your network and use the Pi IP address as the default gateway for that device
OR
- If your router allows use it's static routing function and direct the traffic you want to be treated by the Pi to it's IP address
That's it... all done
